Tutu Dress Tutorial
There is nothing more girly than a fluffy frou-frou tutu, especially if you are shorter than 4 feet tall.
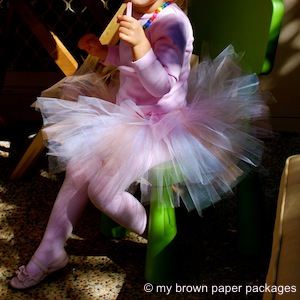
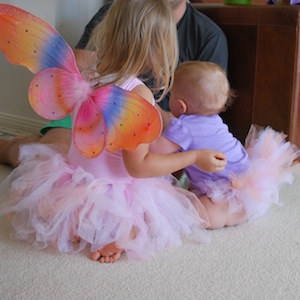
For my little girl’s 3rd birthday I made her a tutu and the delight on her face when she saw her special outfit to wear was priceless. And it was so easy to make.
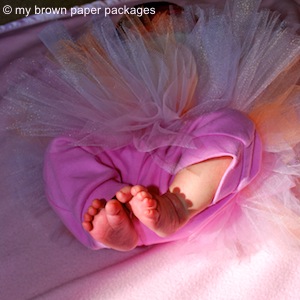
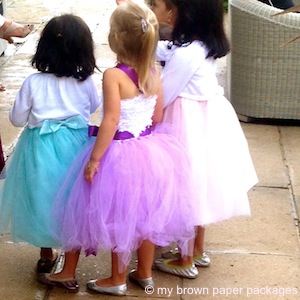
So of course I made her sister one as well, at the time she was only 2 weeks old and together they looked adorable! They are a soft mix of pink, apricot, lilac, white and pale pink.
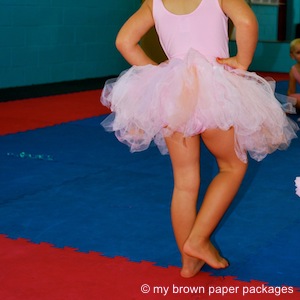
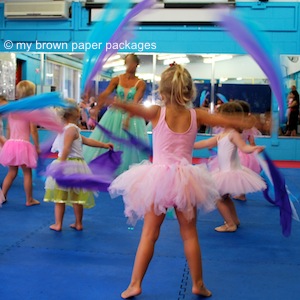
After the party the tutu’s have been used for ballet and just because dress up days at home. You can see that the tulle becomes a little scrunched and ruffled as it is used but you can comb it out straight with your hands if you want to.
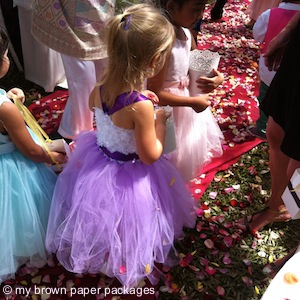
When I couldn’t find a fairytale style dress for my daughter to wear as flower girl recently I decided I’d just make my own. The hardest things about this were first of all getting a 3 year old to stand still long enough to measure her - good luck with that. And secondly, sourcing the materials I’d need. I found it hard to find both the rolls of tulle and the large crochet bands but the Internet is your friend and it is cheap and easy to order online.
What you will need:
- Large crochet headband
- Tulle – I find it easiest to work with the spools of tulle that are precut at 6inches wide
- Ribbon
- Brooch – optional for joining strap
- Measuring Tape
- Scissors
- Cardboard (big cereal boxes or nappy boxes if you have them are good for this)
- Needle & Thread – to match ribbon (only needed if making straps)
*I haven’t put measurements or amounts since they will differ depending on the size of your child and the length of your skirt/dress and how fluffy you want your tutu to be.
1. CUT TULLE STRIPS
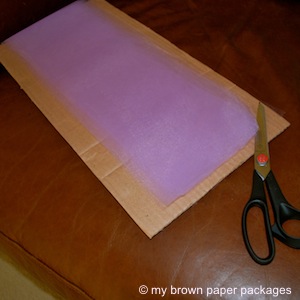
Firstly you need to decide what length you want your tutu, remembering to measure from where you will be attaching it. For instance if you are making a skirt, measure from where the elastic will sit on their waist. For this dress I had to measure from the bottom of the bodice and I made it a longer style. Cut a piece of cardboard to your chosen length and wrap your tulle around it. Each strip of tulle needs to be twice your dress length so if you cut across one end of the cardboard you end up with your tulle strips perfectly measured. This is so much easier than individually measuring and cutting each strip. After winding all of your tulle on you only need to make this one cut.
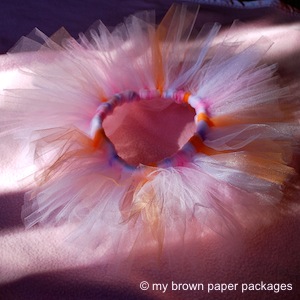
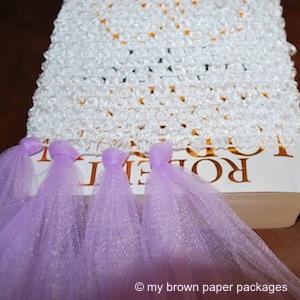
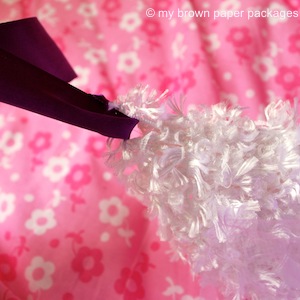
2. ATTACH TULLE STRIPS
For this dress I was attaching the tulle to the crochet bodice rather than elastic like the skirts.
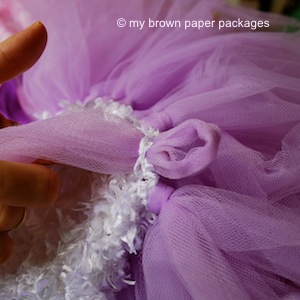
To attach the tulle strips you simply fold your tulle in half and thread the looped end through a hole until it is just sticking out.

You then feed the tulle tails through this loop.
Then when you pull tight it is holding on to the crochet top. That’s it!
You repeat this all the way around. To make this look nice and full and fluffy I actually used 2 strips of tulle in each hole. To do this I layered the two pieces together before threading them through the hole. And I also only did every second hole, then repeated the process a row higher in every first hole. This gave the tutu volume. As you can see I also stretched the bodice over a big fat book to make it easier to get to each hole. You could also use your leg for this but I kept getting up and walking away to do other things so this didn’t work for me.
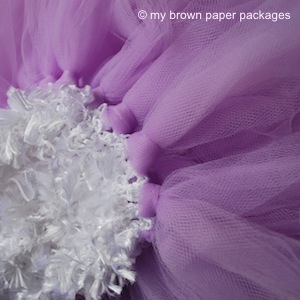
3. DECORATE THE BODICE

You can leave the bodice plain but I decided to soften it and threaded a fluffy yarn through the holes. You can see in the photo above how different it looks with and without it. Just remember to only loosely thread it to allow enough stretch to get it on and off your child.
4. RIBBON WAIST BELT
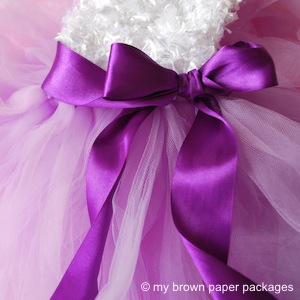
To finish it off I used a double-sided satin ribbon around the waist and made the length of the ribbon tails the same as the dress. Remember to allow enough length to tie the bow. This also helps hide the tulle joins.

To be sure it didn’t fall off when undone I slipped it through a loop at the back of the crochet bodice.
5. RIBBON STRAPS
You can leave the dress strapless but I decided to add some ribbon straps, which were really only for show, as the elasticized bodice can stay up on its own.
I used just one length of ribbon and sewed one end on to the bodice at the front.
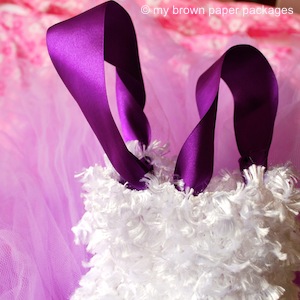
I looped the ribbon through a centre loop on the bodice at the back.
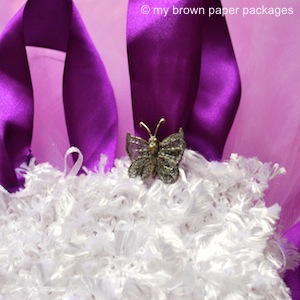
I used an old butterfly brooch covered in glitter to attach the other front side. This method allowed me to adjust the length of the straps and also makes the dress easier to get on and off.
6. MAKE A SLIP
My daughter found the dress to be a bit itchy and to avoid her undressing mid-ceremony I made a simple slip for her to wear underneath. This also solved the problem of having to wear tights because tulle is see through and the strips will part leaving one little bottom sticking out for all to see. And while their undies are very pretty I think it is best to teach our girls some modesty. So a slip, or some tights or bike pants are needed.
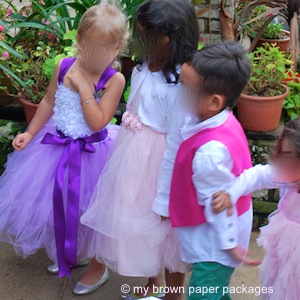
In the end she looked like a fairy tale princess and felt like one too. This is an easy project that is only as hard as you make it. You can keep it simple and just thread the tulle on and leave it at that or you can add whatever extra flourishes you would like.
I’d love to hear about your tutu creations, have you ever made one?
Maybe your princess needs a crown - check out my tutorial on how to make your own felt crown.


Leave a Reply